Friday 28 December 2012

New Boxwood Mitre Plane

From earlier posts regular readers will have seen I had
plenty more of that spalted Box for planes.
So as I am on holiday a slighty longer project could be started I thought.
I am too busy for anything else.....


I had to make a special saw for this cut.

 
Using an African Blackwood mouth closer I had already made as a spare.
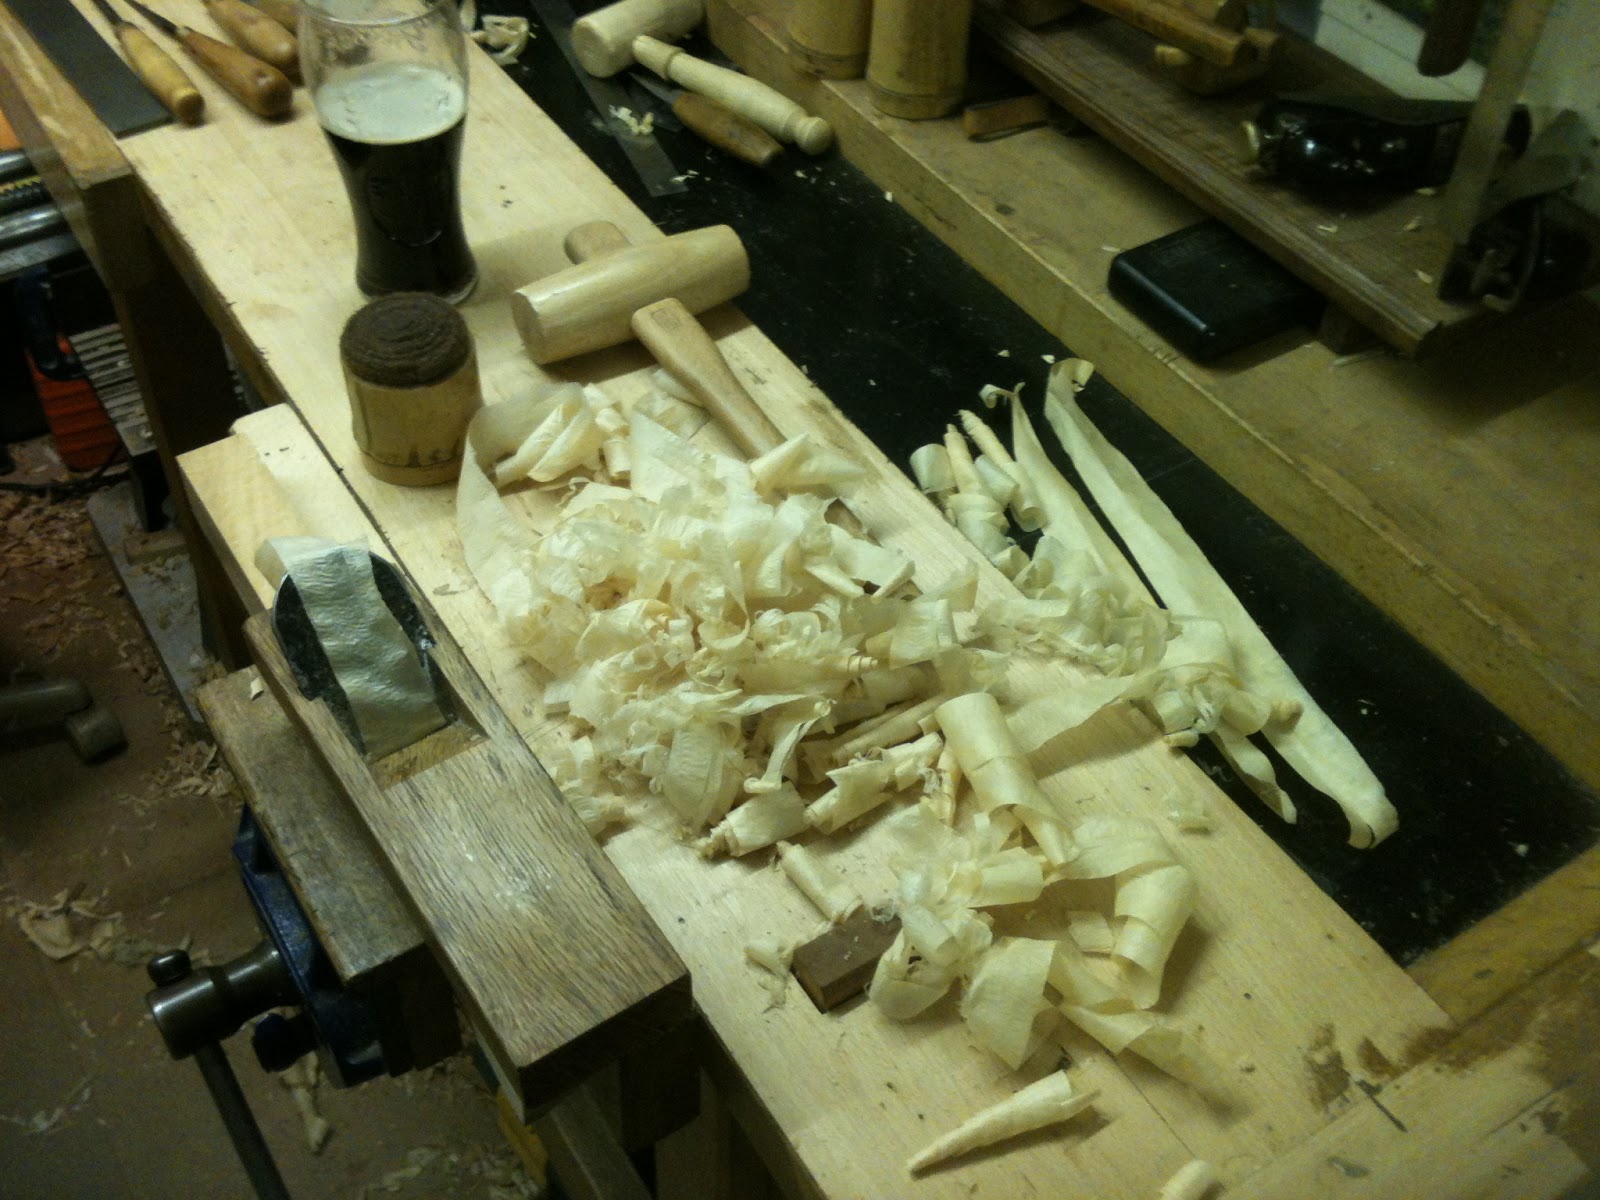
Iron fits fine now, just over 2 hours work so far.
I might be getting a little faster now I know what I am doing!
 

Monday 24 December 2012

Watch out cutting up this Wood...

Just went for a walk with the boys...
I mean I have seen a lot of trees growing around stuff before,
but this one almost goes right through the middle,
with no marks around the top bar!


Might have some interesting colouration mind you,
with the iron depositing itself into the tree?

Yew Japanese style Mallet

Hand carved finish on all surfaces.
A fine sharp laminated knife was used over the
whole knotty twisted grain.
The texture is in keeping with my favourite wood, Yew.


Wedged with Holly.
Note I personally collected ALL the wood from the woods myself.
Dried it over the years...
 
I have been inspired by the  surface of some
Japanese Blacksmith hammers
and the style of a cool mallet I saw recently.


This handle design should of course be very strong as
nature designed the branch to withstand similar forces,
straight grain throughout.
  I used tools I made myself to make it.
Something quite nice about that.
 
Do I need another plane adjusting mallet?
Probably not.

Yew Japanese Mallet

 
Yew branch for handle, been wanted to do this for ages.
Lovely knurly, knotty, purple, orange and yellow branch for head.


Quick Christmas Pressies

 
I have a clock theme here I think.
Produced some Harmonograph sketches from my Harmonograph:
Stuck them down onto some Acrylic, having polished the edges,
cover front in thin clear acrylic, clock nut holds the lot together.
Job done.
Simples.

 
Bit of Oak, on a lathe, you know the score.
Who needs numbers eh?


Check out the 3D cooling tower in the middle of this one!

New Kanna in Action

 
Just thought I should include the typical
'this is me making shavings' photo we have all come to expect!
I am using the giant oil applicator (oil wick) with Camellia Oil
I use it frequently on the base of the Dai
as recommended by the Japanese Shokunin.

Thursday 20 December 2012

Single Blade Kanna complete

 
Single blade, simple blade.
One piece of wood, one piece of steel.
Yes I think this relates well to my need to have a hobby that
does simple things well with craftsmanship.
I get through nearly everyday with the thought,
'Ahh... 1 hour in the workshop tonight!' - that is what I am looking forward to.
This blog, my making, has that 1 hour to thank for most of what I do.

 
I think that is what you call a fine mouth?!


As this was made the same length and width as a Japanese Dai I already had...
I thought I wonder how similar they are?
(I am thinking Holm Oak is even denser you see!)
So I have weighed them, bear in mind the Holm Oak
(on the right below and top above)
is actually a few millimetres thinner...
and the Japanese Dai has a steel bar in it while mine does not...
 
Japanese Oak = 463 grams
British Holm Oak = 461 grams
 
So Holm Oak is denser from my little experiment...


Kanna Dai tune up

 
Umm blurry I think.
Tune up time.
Got to relive the base for smoothing, one of my favourite jobs.
 

The mahogany (umm don't like it to be honest) right angle square
(Mahogany due to its stability)
allows me to run my Tachi Kanna against it for accuracy
it also protects the blade which is best left only just under
the sole as it deflects the base.

Wednesday 19 December 2012

Kanna time (its like hammer time but more Japanese)

 
Flat Bench - 2 vices, 2 bench stops,
Hand made chisels, saws, knives and mallets,
all good to go.


This all looks like I have done it before?
About an hour to get here - getting faster now.
 
 
I like using this saw.
Maybe it is because John and I made it together?!

 
I like this bit - fitting the Dai to the blade.
Making them a unique pair - only this blade will fit this Dai.

 
I now have a super size 'Oil wick' as per Jim Kingshott's books.
Used with Camellia Oil as a giant Abura Tsubo.
I saw Inomoto -San use something like this.
You quickly wipe the blade over the 'wick' tap in, tap out, pare etc.


Got a good tight fit just where it matters here.

 
I like this moment - just as the blade starts to show through,
there is a reassurance that the 2 have finally come together,
maybe a fine tool will result from the union?
Soon we will know, the time is near at hand.
I reckon I will have this done in about 3 hours...
 

What shall I make next?

 
Just realised this is my 200th Post!
I have narrowed down the next project to the following:
 
New Kanna for another Antique Blade
(make in Holm Oak and check weight against a Japanese Oak Dai?)
Use one of my own hardened steel BN stamped chip breakers or not?
Hex Hammer head...
Another Spokeshave...
Another Saw..
 

Umm I love this Oak currently so lets get to know it more..
Might do it the old fashioned way - no chip breaker.

Some Workbench Adjustments

Japanese Bench Stop.
Hey why not have one at both ends of the bench I thought?
Duhhh...
Just go for it and not worry too much...


Umm might just check my bench for flat - this time of year I usually do...

 
This is about half way through truing my bench.
Impossible without good straight edges -
perhaps Santa needs to get me a Metre Straight edge?...
Or a 1.8m long one...

Japanese Spokeshave Complete

OK all done now.
Quite pleased all in all, a great learning experience!


Got the mouth about right for the size.


Lovely straight shavings just flow out the mouth.
Just like a little Kanna with handles!

 
I cut the fit so perfect there is no gap around the blade,
even at the back where you often see some 'play'


Saturday 15 December 2012

Japanese Spokeshave takes Shape


I am going to keep this simple.
In fact I already think it has too many curves in it.
Already designing No. 3 + 4 as  I make this one.

The good news is it works lovely.
Cuts just like a mini Kanna with 2 handles.
Works even better on the Pull stroke - who would have thought?!